Written for someone whose table just arrived in boxes. The order to assemble it in, how to get it genuinely level, and the mistakes that are hard to undo.
Updated October 2026 · By Stephen V.
The problem with setting up a pool table is that one step — leveling the bed — decides whether the table plays properly, and it is the step that gets rushed. Do the frame and legs, set the bed, then spend as long as it takes with a long spirit level before the rails go on. Everything else in a pool table setup is ordinary furniture assembly. Levelling is the part you will regret hurrying, because a ball that drifts on a straight roll cannot be fixed by anything you do later.
This guide assumes a flat-packed home table has arrived in several heavy boxes and you are doing it yourself with one other person. That is how most home tables go in. Two people is the minimum — the bed sections and the rails are heavy and awkward, and lifting them alone is how corners get damaged and backs get hurt.
Before you open a box, settle the position. A table is effectively permanent once assembled, and moving it means partial disassembly. Tape out the footprint plus about 5 feet of clearance on every side for a 57-inch cue — roughly 17 by 13 feet for a 7-foot table and 18 by 14 for an 8-footer. Our guide to how much space a pool table needs has the figures by size. Check the route in, too: rails and bed sections do not turn tight stair corners.
A note on honesty: a slate table is a job for professional installers, and if yours is slate, the sensible advice is to let them do it — they carry a slate level and a cloth stretcher and they have done it hundreds of times. What follows applies to any table, and it is written for the MDF-bed home tables most people are assembling.
The short answer
In a hurry? These are the picks we'd buy. Prices are live; tap a card below for the full reasoning.
$125.995% offPrice as of October 13, 2026·#addisclosure
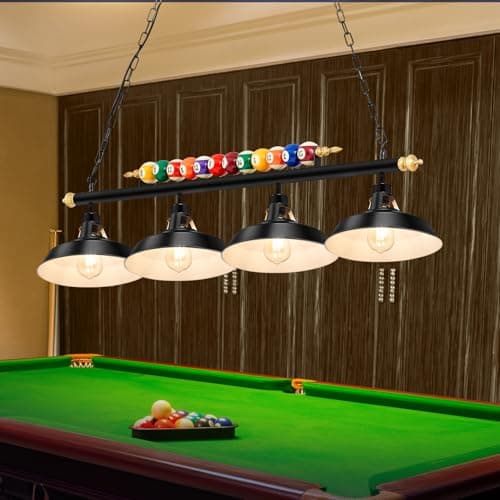
Rossesay 4-Light Adjustable Pool Table Light (7-8 ft)
A four-lamp adjustable fixture sized for 7 and 8-foot tables — the thing that makes a correctly leveled table actually playable in the evening.
Lamps
4
For
7-8 ft tables
Adjustable
Yes
Mount
Ceiling
Pros
Even light across the whole bed, which a room light cannot give
Adjustable to suit table size and ceiling height
Finishes the room visually as well as practically
Cons
Needs a ceiling fixing point over the table
Low ceilings limit how far it can hang
An electrical job if there is no existing fitting
Best for: A table under a general ceiling light that casts shadows across the bed.
Step 1 — position and prepare the room
Tape the footprint plus 5 feet on every side. Clear the whole area, lay down cardboard or a blanket to work on, and sort the hardware into labeled piles before you start — pool tables ship with several similar-looking bolt types, and mixing them up means dismantling later. Check that the floor is reasonably flat with a long level before anything goes on it. A basement slab with a dip in it is useful to know about now rather than at step 4.
Step 2 — assemble the frame and legs
Build the frame upside down on the floor, bolt the legs into it, then turn the whole assembly over with two people. Tighten every bolt by hand first, get everything square, then torque them down — running one bolt fully tight before the others are started is what pulls a frame out of square. If the legs have adjustable feet, set them all to mid-travel now so you have adjustment in both directions when you level.
Step 3 — set the bed
Lay the bed onto the frame and fix it according to the instructions. On a one-piece MDF bed this is straightforward. On a three-piece bed, the seams between sections are the critical detail: they must sit flush, and any step between sections will be felt by every ball that crosses it. Work the seams until they cannot be felt with a fingertip before you fix anything down.
Step 4 — level it, and then level it again
This is the step that matters. Use the longest spirit level you have — 4 feet if possible — and check along both diagonals, both lengths and both widths, adjusting the leg feet or shimming under them. Then do it again, because adjusting one corner changes the others. Finish with the ball test: place a ball at several points on the bed and watch it. It should sit still. Roll a ball slowly the length of the table and watch for drift. Keep adjusting until both tests pass everywhere on the bed.
Thin shims under the feet are the usual fix for a floor that is not flat. Hardwood or plastic shims, not cardboard, which compresses over weeks and quietly undoes your work.
Step 5 — fit the rails, cushions and pockets
Rails bolt down through the bed into the frame. Fit them loosely, check that the cushion faces line up at every joint, then tighten in stages working around the table rather than finishing one rail at a time. Uneven rail torque pulls the cushion line out of true and is a common reason a new table rebounds oddly at one corner. Fit the pockets last.
Step 6 — cloth, if it is not pre-fitted
Most flat-packed home tables arrive with the cloth already on the bed, which is a mercy. If you are clothing it yourself, the principle is even tension in all directions with no wrinkles and no over-stretch, stapled or glued per the instructions, and the pocket cutouts trimmed cleanly. This is genuinely a skilled job. If the cloth is loose or creased and the table is new, it is worth asking the manufacturer rather than attacking it with a staple gun.
Step 7 — rack up
For eight-ball, the rack is a triangle with the apex ball on the foot spot, the eight ball in the center of the third row, and one solid and one striped ball in the two back corners; the rest are mixed. For nine-ball, a diamond with the one ball at the apex on the foot spot and the nine in the middle. Press the rack forward so the balls are touching before you lift it — a loose rack breaks badly and is the most common reason a break feels dead.
The first-month checks
A new table settles. Re-check the level after a week and again after a month, and re-torque the rail and leg bolts at the same time — frames relax slightly as the timber and hardware bed in. This ten-minute check is the difference between a table that still rolls true in a year and one that quietly develops a drift nobody can account for.
Looking after it from here
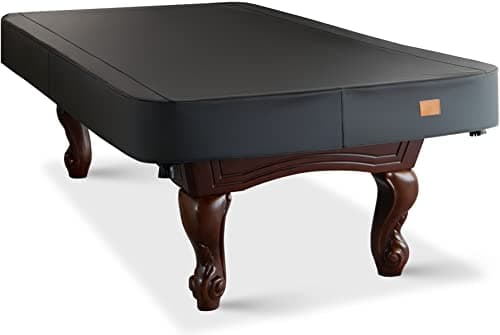
Brush the cloth along its nap after sessions, never with a vacuum's beater bar. Keep drinks off the rails — a counter-height surface nearby is the cheapest insurance you can buy, and it is why a small pub table or bar stool belongs in the room. Keep the table out of direct sunlight, which fades and weakens cloth faster than play does. And cover it when it is not in use; dust is the other thing that wears cloth, and a cover costs a fraction of re-clothing.
When to call someone
Three situations. If the table is slate, let professional installers set it up. If the bed has a visible dip or the seams between slate sections will not sit flush, that is a shimming job for someone with the right tools. And if the cloth needs replacing, a re-clothing service costs a small fraction of the table and does a job that is very hard to match first time. None of that is a failure — it is the same logic as not leveling a piano yourself.
What to buy once it is set up
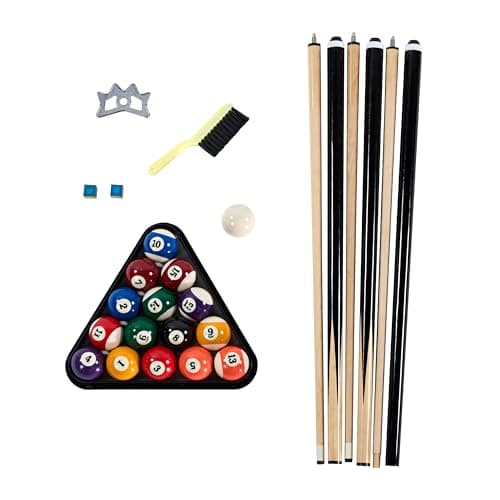
A newly assembled table is usually missing the small things: a brush for the cloth, chalk, somewhere for the cues to live and a cover to keep sunlight off. Our pool table gift guide is the shortest list of what an owner actually needs, and a proper table light is the upgrade most home tables are missing.
Frequently asked questions
How do you set up a pool table?+
Position it with about 5 feet of cue clearance on every side, assemble the frame and legs upside down and turn it over, fix the bed, then level it carefully with a long spirit level before fitting the rails and pockets. Levelling is the step that decides whether the table plays properly, and it is the one to take time over.
How do you level a pool table?+
Use the longest spirit level you have along both diagonals, both lengths and both widths, adjusting leg feet or shimming under them, then repeat — adjusting one corner changes the others. Finish with the ball test: a ball placed anywhere on the bed should sit still, and a ball rolled slowly down the table should not drift. Use hardwood or plastic shims, not cardboard.
How do you rack a pool table?+
For eight-ball, a triangle with the apex ball on the foot spot, the eight ball in the middle of the third row, and one solid and one striped ball in the back corners. For nine-ball, a diamond with the one ball at the apex on the foot spot and the nine in the center. Push the rack forward so every ball touches before lifting it, or the break will be dead.
Can one person set up a pool table?+
Not safely. Bed sections and rails are heavy and awkward, and turning an assembled frame over alone risks the table and your back. Two people is the minimum for a flat-packed home table, and a slate table should be set up by professional installers who carry a slate level and a cloth stretcher.
How long does it take to set up a pool table?+
Allow a full afternoon for a flat-packed home table with two people, with most of that time going on leveling rather than assembly. Rushing the level to finish sooner is the single most common mistake, and the one that cannot be corrected by anything you do afterwards.
Does a new pool table need re-leveling?+
Yes. Frames and hardware settle in the first weeks, so re-check the level after a week and again after a month, re-torquing the leg and rail bolts at the same time. That ten-minute check is what keeps a table rolling true instead of developing a drift nobody can explain.
Prices and availability shown here come from Amazon's live data and change often; we re-verify them regularly. Bar Bumper is an Amazon Associate and earns a commission on qualifying purchases at no extra cost to you. Read our full disclosure.