A deadlift platform is two rubber mats and, if you want to be fancy, a sheet of plywood. It's the cheapest thing in a garage gym that prevents the most expensive damage.
Updated August 2026 · By Stephen V.
A deadlift platform does three jobs: it stops a dropped bar cracking your slab, it keeps the plates from chipping, and it turns a crash into a thud your household can live with. It is also, in its simplest form, two rubber mats laid on the floor — which is why it's one of the highest-return things you can do in a garage gym and one of the most over-complicated on the internet.
This guide covers both versions. The two-mat method, which takes ten minutes and costs about what one plate does, and the plywood build, which takes an afternoon and gives you a proper flat lifting surface with a defined footprint. Both work. Which one you need depends mostly on whether you're deadlifting on concrete or on a floor you care about.
The short answer
In a hurry? These are the picks we'd buy. Prices are live; tap a card below for the full reasoning.
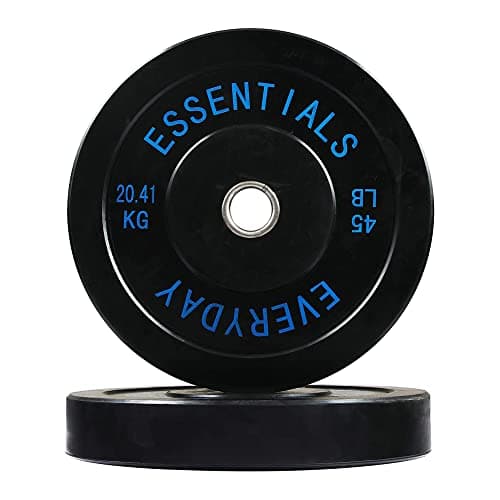
A platform and bumper plates solve the same problem from opposite ends — together they're what makes dropping safe.
Material
Rubber with steel hub
Weight
45 lb pair
Job
Absorbs impact at the bar
Bonus
Sets correct 8.5-inch pull height
Pros
Takes the crash out of a drop before it reaches the floor
Sets the bar at proper deadlift height at any load
Protects the bar's knurling and sleeves as much as the floor
Cons
Two to three times cast iron's price per pound
Thick, so they consume sleeve space fast
Not needed if you always lower under control
Best for: the drops themselves.
Skip this
The budget traps that look cheap and cost you twice. We'd skip these.
Building a platform on foam tiles
Foam under a platform defeats the point. It compresses under the point loads at the plate edges, which lets the platform rock and flex, and the impact goes straight through into the floor anyway. Isolation comes from mass, not softness. Build directly on the slab, or on rubber.
A single layer of thin rubber over concrete
Quarter-inch rubber under a dropped 300 lb barbell is not enough material to absorb the energy. What you get is a mat with plate-shaped craters and, underneath it, a chipped slab. If you're going to drop, you need thickness and mass at the drop zone — three-quarter-inch stall mats are the standard for a reason.
Skipping the platform because you 'lower under control'
Mostly fair — controlled lowering genuinely reduces the need. But the failure case is the rep that doesn't go to plan, and one dropped 300 lb bar onto a bare slab can chip concrete permanently. A platform is cheap insurance against the session that goes wrong, not the ones that go right.
The two-mat method (ten minutes, no tools)
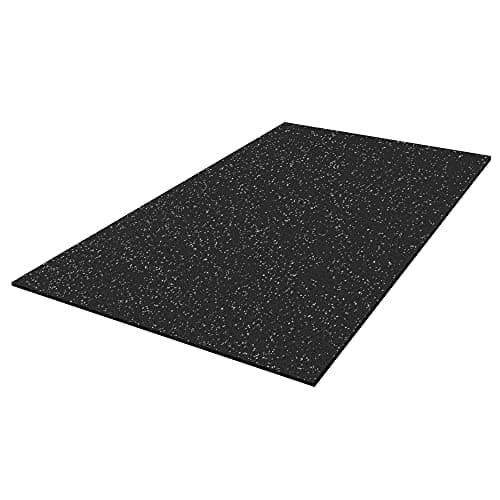
This is what most garage gyms actually need. Two 4x6 ft rubber stall mats, laid side by side with the long edges touching, giving an 8x6 ft surface. You stand in the middle; the plates land on rubber on either side. That's the whole build.
It works because a stall mat is dense recycled rubber roughly three-quarters of an inch thick, which is enough mass to absorb the energy of a dropped bar and spread it over a large area rather than concentrating it where the plate lands. It's the same material commercial gyms use, sold cheaply because it was originally made for horse stalls.
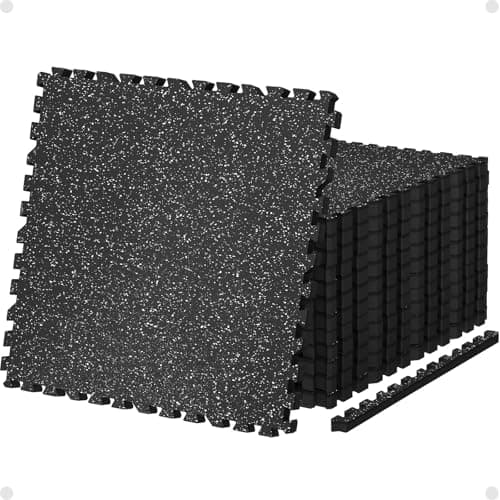
Two practical notes. Mats arrive rolled and take a week or two to lie flat — leaving them in the sun or under something heavy speeds it up. And they're heavy: plan on two people and a hand truck, or buy interlocking tiles instead if the gym is up a flight of stairs.
The plywood build (an afternoon, worth it if you lift often)
The classic garage-gym platform is a rubber-and-plywood sandwich, and it gives you two things the two-mat method doesn't: a hard, flat, level lifting surface underfoot, and a defined footprint that keeps the bar in the same place every session.
The standard build, in order:
Base layer. Two sheets of plywood laid flat, side by side, giving an 8x8 ft base. This is the structural layer that spreads the load.
Second layer, rotated. A second pair of sheets laid across the first at ninety degrees, so the seams don't line up. Screw or glue the two layers together. This is what makes the platform rigid rather than two flapping sheets.
Rubber drop zones. Stall mats on the left and right thirds, where the plates land. This is the part doing the actual work.
Lifting surface. The center third is left as bare plywood, or topped with a hardwood sheet if you want it to look the part. Standing on wood rather than rubber means your feet don't sink, which matters more than it sounds for a heavy pull.
An 8x8 ft footprint is generous and matches competition dimensions. In a tighter garage, 8 ft wide by 6 ft deep is perfectly workable and saves a whole sheet — the depth only needs to cover your stance plus a comfortable margin.
Sizing it for your room
Three measurements decide the size.
Width is set by the bar: a 7 ft Olympic bar needs the plates to land on rubber at both ends, so 8 ft is the sensible minimum and anything narrower means a plate lands on the floor. Depth is set by your stance plus room to step back — 4 ft is tight, 6 ft is comfortable, 8 ft is competition spec. Height is the one people forget: a plywood platform raises you an inch and a half, which changes your standing height under a rack's pull-up bar and can matter in a low garage.
If the platform sits inside a rack, check the rack's footprint sits fully on it or fully off it — a rack with two feet on the platform and two on the floor is a rack that rocks.
What it costs, and what it saves
The two-mat version costs roughly what a pair of plates does. The plywood version adds the cost of four sheets of ply and a box of screws. Both are trivial against the alternative: repairing a cracked concrete slab, replacing chipped plates, or the more likely outcome, simply never deadlifting at home because you're worried about the floor.
It's also worth pairing with bumper plates if you actually drop the bar. A platform absorbs impact after it's happened; a bumper plate reduces the impact at the source. Together they're what makes a home deadlift setup genuinely quiet — the comparison between plate types is in cast iron vs bumper plates.
Platforms on upper floors: read this first
A platform protects the floor surface. It does not solve the structural problem of dropping several hundred pounds onto a suspended timber floor, and it doesn't stop the low-frequency thump reaching the room below — that travels through joists regardless of what's on top of them.
If your gym is on an upper floor, the honest advice is: don't drop the bar. Lower it under control, use lighter loads for higher reps, or move the deadlifting outside or to a ground floor. A platform plus a rubber mat helps with surface damage and a little of the noise, but it isn't a license to drop. Our noise guide goes through what does and doesn't work.
Common mistakes
Rubber only in the middle. Backwards. Your feet go in the middle; the plates land at the ends. That's where the rubber belongs.
Seams lined up between layers. Two sheets with aligned seams flex as one weak line. Rotate the second layer ninety degrees.
Building on an uneven slab. A platform on a floor with a fall in it rocks, and a rocking platform under a deadlift is unnerving. Shim it, or lay it on the flattest part of the room.
Making it too small to save money. A platform your plates land off the edge of is worse than no platform, because you'll trust it.
Attaching it to the floor. Unnecessary. The weight of the platform and the mats keeps it put; fixing it down just makes it permanent.
Once the platform is down, the rest of the floor is a separate question — and usually a cheaper one. Our budget flooring guide covers what to put under the rack and the open floor, which doesn't need anything like this much material.
Frequently asked questions
Do I need a deadlift platform in a home gym?+
If you deadlift on concrete and ever release the bar, yes — one dropped loaded barbell can chip a slab permanently, and the noise in a garage is considerable. If you always lower under control on a floor you don't mind marking, you can get away without one. The cheapest useful version is two rubber stall mats laid side by side, which takes ten minutes.
What size should a deadlift platform be?+
8 ft wide is the sensible minimum, because a 7 ft Olympic bar needs both plates landing on rubber. Depth of 4 ft is tight, 6 ft is comfortable and 8 ft matches competition spec. If it will sit inside a rack, make sure the rack's feet are all on the platform or all off it — half-on means it rocks.
What do you put under a deadlift platform?+
The slab, ideally. Building a platform on foam tiles defeats the purpose: foam compresses under point loads, letting the platform flex and passing the impact straight through. If you need something underneath, use dense rubber rather than foam. Isolation comes from mass, not softness.
How much does a DIY deadlift platform cost?+
The two-mat version costs roughly what a pair of weight plates does. The plywood-and-rubber build adds four sheets of plywood and a box of screws on top of that. Both are cheap against the alternative — repairing a cracked slab, replacing chipped plates, or never deadlifting at home at all.
Can I put a deadlift platform on an upstairs floor?+
You can lay one, and it will protect the floor surface. What it won't do is make dropping the bar acceptable — several hundred pounds hitting a suspended timber floor is a structural and noise problem that no platform solves, because the thump travels through the joists. On an upper floor, lower the bar under control rather than relying on a platform.
Prices and availability shown here come from Amazon's live data and change often; we re-verify them regularly. Bar Bumper is an Amazon Associate and earns a commission on qualifying purchases at no extra cost to you. Read our full disclosure.